


Most people collect their hire car, throw their luggage in the boot and get on the road as quickly as possible. But there’s one small step that’s worth taking – it could stop surprises later down the line, protect you in a dispute, and make your car hire excess insurance claim simpler.
That step is taking a deliberate, well-planned set of photos before and after your rental.
Here’s how to build this into your rental routine and why it matters far more than you may think.
The Reason Rental Car Photos Matter
A thoughtful set of photos:
Photos give you something reliable and tangible – proof.
Documenting Your Hire Car
You don’t need to photograph every inch of the vehicle in forensic detail, just cover the areas where disputes are most likely to arise.
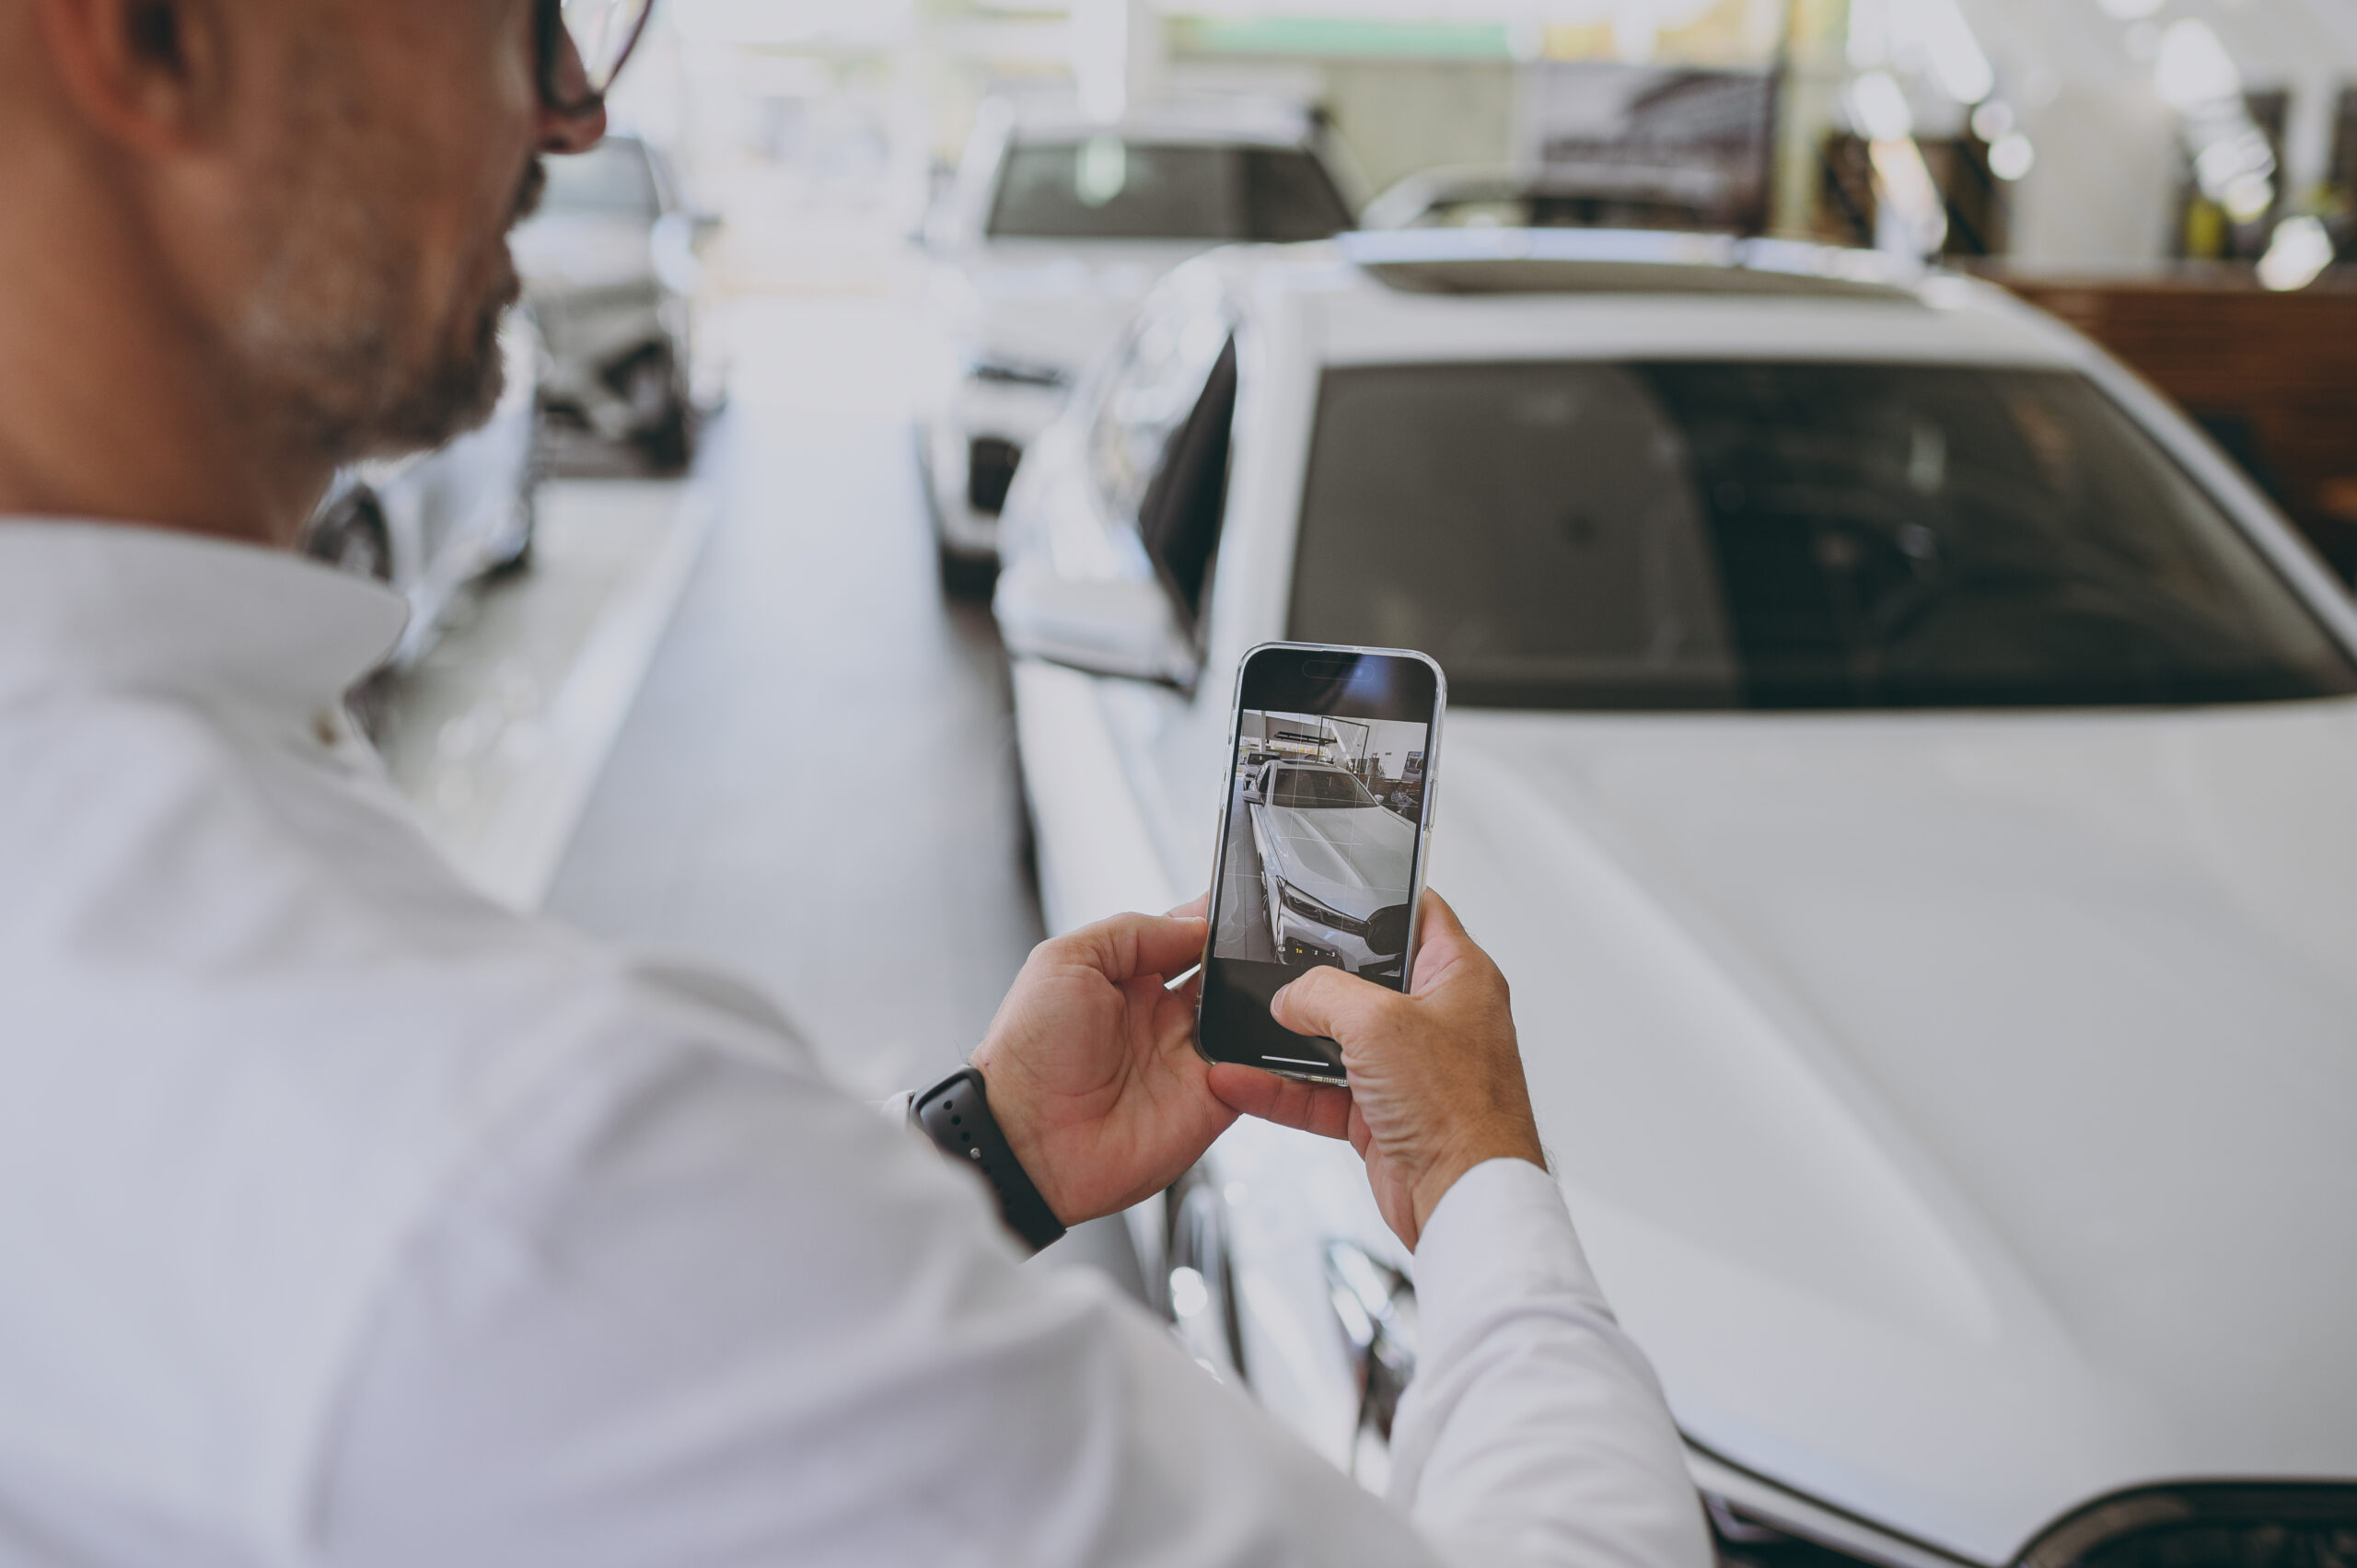
1. Start with walking around before driving off
Before leaving, give yourself a moment to walk around the car and photograph it from a few angles. You’re aiming to show:
- The general exterior condition
- Any visible dents or scuffs
- Anything the rental company has already marked on their condition report
2. Document anything that happens during your trip
If something happens – no matter how small – take a few photos as soon as it’s safe to do so.
3. Repeat the process when you return the car
Your “after” photos are just as important as the ones you take at the beginning. They help establish how the car looked at the end of your rental, especially during unattended or out-of-hours drop-offs.
A quick repeat of your original walk-around is enough.
The Shots You Should Aim to Get
Focus on covering these high-value areas in your photos:
If you have time, a short walk-around video can capture details photos sometimes miss.
How These Photos Strengthen Your Car Hire Excess Insurance Claim
Car hire excess insurance is designed to reimburse you if you’re billed for damage, but the quality of your evidence can dramatically speed up the process.
A Simple Habit That Pays Off
You don’t need to be an expert or spend ages inspecting your hire car. Just adopt a simple three-part routine:
- Document it when you collect it
- Record anything that happens during the rental
- Take a final set of photos when you return it
Combine that with car hire excess insurance, and you give yourself reliable protection so you can have peace of mind when driving your hire car.
Curious about how much a Cover4Rentals policy might cost you for you next trip? Get a quick today before you book your rental!

Comments are closed